Wednesday, September 9, 2015

Creating and configuring new scope and superscopes

in this training i want to show, how we can creating New scope, and configuring superscopes in DHCP .
what is DHCP superscopes?
this is for this, if we have more DHCP more Client, or more.


Create and configure New Scope.
To Make new Scope Follow thes steps.
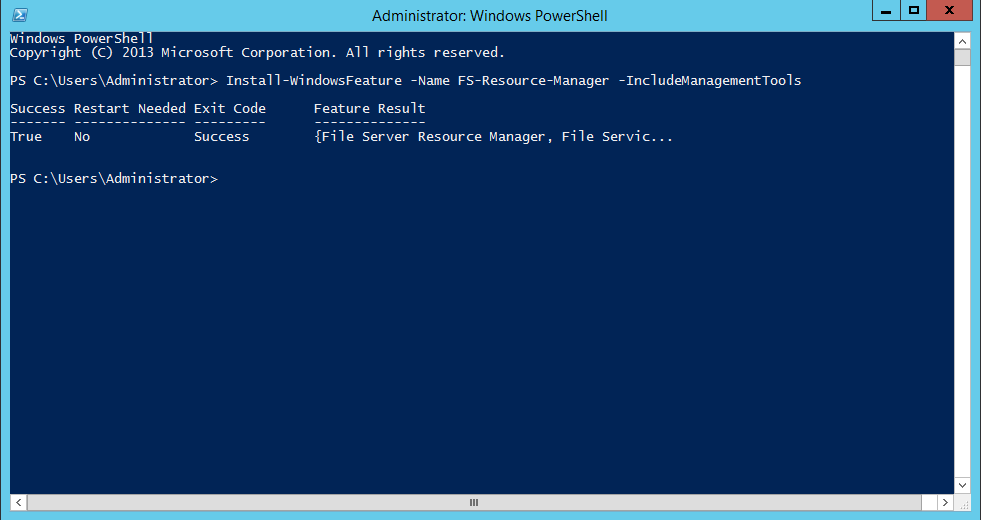
1.open the server manager, on task bar.
2.at the top of server manager, select the tools click the DHCP, (see figure)...


3.when open DHCP, Right click on active directory name and click IPV4, and then click New Scope
(see figure)


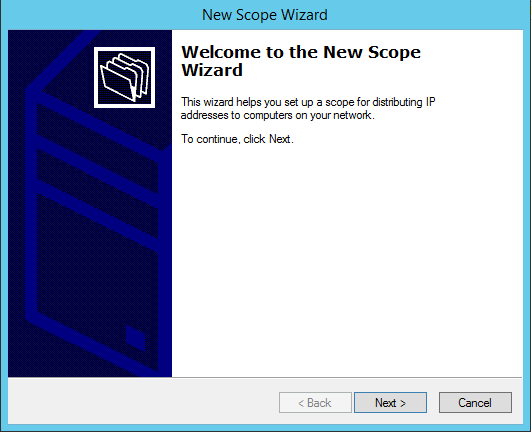
4.in page of new scope wiazrd, click Next.

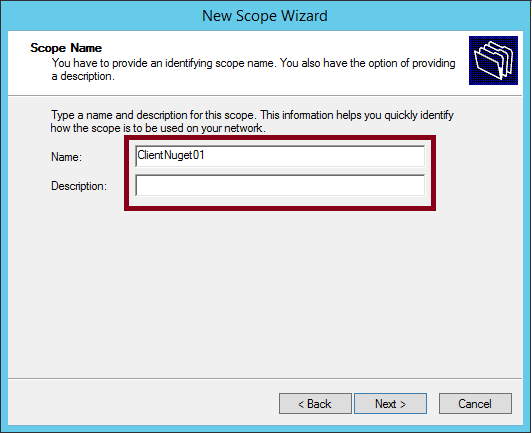
5.in Scope Name page, type a name and Description for the scope, then click next.

4.in IP address range page, enter the range of address that the scope distrutes, then click next.

7.in Add Exclusions and Delay page, type the ip address range and click the add button.
then click the next button (see figure).

8. in Lease Duration page, click next button.

9. in Configure DHCP Option page, select the Yes, I want to configure thes option now, then click next button. (see figure).

10. in Router (Default Getway), add IP address for a router used by clients and click the add button,
Then click next button (see figure).

11. in Domain Name and DNS server page, write your dns anme, and then click next.

12. in WINS Servers page, do not tuch any thing and then click next.

13.in Acticate Scope page, select the Yes. I want to activate this scope now, and then click next.

14. In Competing the new scope wizard page, click next.

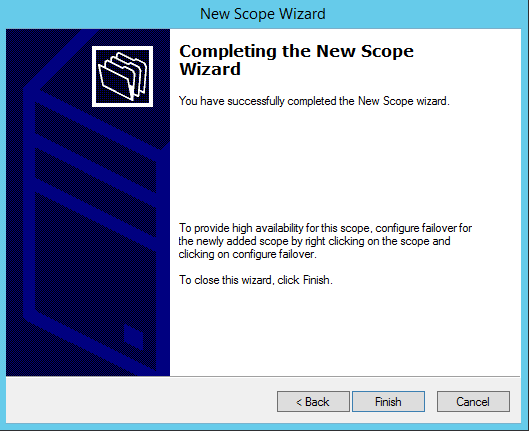
Now finished creating Scope, see the scope.


Create DHCP superscopes.
A superscopee allow several distinct scopes to be logically  grouped under a single name
To Create DHCP superscopes follow thes steps.
1. Right click on ipv4  then click New superscopes, (see figure).

2. In Welcome to the New Superscope wizard page, click next button.

3. In Superscope Name page, write the superscope name Like: All Scops, and then click next.

4. In Select Scopes page, select both of them scopes frome the list, and then click next.

5. In Competing the New Superscope wizard page, select alla Scope then click finish button.
now your superscope is finish .
now see there tow scope is in one superscope.


Saturday, September 5, 2015

Install and Configuration Active Directory On windows server 2012 R2

In this learn i want to show how to install Active Directory and Configuration of Active Directory .Before intallation active directory you must know active directory, what is active directory ?
Active directory is Directship centre, in active directory we can control all user, for user we can gave permission that can access Folder and any thing ...................................................................................

How to Install Active Directory .
To Install AD DS follow thes steps.
1.Open the server manager from the task bar
2.at the tap of server manager select the manage click the Add rule and features, show the page of add rules and features wizard.
3.On before you begin page, click next.
4.on select installation type page, click next.
5.on select destination server page, click next.
6.on select server rule page, select Active directory domain services to install. then click next


 features are also required to install domain services, click Add Features.


7.on select features page, click next button (see figure)


8.On active Directory Domain Services page, click next button.

9.Review the installation, select th Restart th destination server automatically if required, and click Install.


Configuring Active Directory
Once the active directory domain services role is installed the server will need to be configured for your domain.
1.click the promote this server to a domain controller (see figure).


 2. From the Deployment Configuration tab select Add a new forest from the radial options menu. Insert your root domain name into the Root domain name field. then click next button.

3.from domain controller options tab write your password, then click next.

4.from DNS Option tab, click next

5.from Additional Options tab Confirm or enter a NetBIOS name and click Next.

6.From Pathes tab, click next.

7.from Rewew options tab, click next.
the system well be check please wait .................................

8.from Preequisites Check tab, you must click the install button...............................

9.when finished installing click the Close button ( see figure).............Now your installing in finish.

Wednesday, September 2, 2015

Configure File Server Resource Manager (FSRM)

What is File Server Resource Manager
If you’re running file servers, I highly recommend running FSRM. I’m always surprised at how many people either haven’t heard of FSRM or have never used it and complain about several of the problems it can help you solve. The FSRM gives you greater control over folder quotas, let’s you block file types (file screening), and generate storage reports just to name a few things it can do. So, let’s get started by installing the File Server Resource Manager on a file server.
in the first (Install the File Server Resource Manage).link is here.

What is Share Quota 
There are two kinds of quotas: soft quotas and hard quotas. A soft quota means that the disk space limits are not enforced. A user will be allowed to go over the quota and will not be prevented from adding additional data. Soft quotas are good for monitoring usage and generating notifications. A hard quota means that disk space limits are enforced. A user will not be allowed to store data beyond what has been allowed in the quota. Hard quotas are used for controlling disk space usage especially in SLA situations where customers pay for set blocks of storage

To Configuration follow thes steps.
Step 1.open the server manage, click the tools.
then click the File Server Resource Manager.
Step 2.go to Quota Management then Quotas. Click Create Quota...

Step 3.I’ve already selected the folder that is shared: C:\Ahmadjan..
For Example, I’ve used the ‘100 MB Limit’ as the template. click Create


From the Quota Properties screen, you can change the disk space limit and control whether this is a hard or a soft quota. You can also make changes to the notifications that end users receive when the quota starts reaching your pre-determined thresholds.


Step 4.for this we Block allow files, That is not open Like (Block Aoudio and Video)
Click the File Screening Management, click File Screens, then click the Create File Screen...


in here I’ve already selected the folder that is shared: C:\Ahmadjan.
you can Block Files Like Video and Audio, then click Create.


Step 5.Click file Screen Templates, the right side click the Create File Screen Template....


Create File Screen Template, click the Sitting in setting page write your Template name.
in the part of sceening type, select the Active Screening: Do not allow users to save unauthirizwd file. in the down ward, select file groups to block. then Click Ok button. 


Install FSRM on Windows Server 2012 with PowerShell

To install the FSRM follow thes steps.
step 1.Installing the FSRM on Server 2012 with the Install-WindowsFeature cmdlet is definitely the fastest way to get up and going. With Administrator rights, run the following PowerShell


Install-WindowsFeature  –Name FS-Resource-Manager  –IncludeManagementTools


Now Start to Installation...........................................................................................................


See your Installing is Ended..


Tuesday, September 1, 2015

How to Install and Configuration of BranchCashe in windows server 2012 R2

What is BranchCache?
BranchCache is a WAN optimization technology that is built into Server 2012. It enables remote offices to access centralized file-shares over the wide area network at faster speeds and using less bandwidth. This type of solution to remote office WAN optimization are collectivity known as “wide area files services” or WAFS solutions. They are traditionally expensive so it is a great to have a solution included in the box with Windows Server.

To optimize WAN bandwidth when users access content on remote servers, BranchCache copies content from your main office servers and caches the content at branch office locations, allowing client computers at branch offices to access the content locally rather than over the WAN. Further BranchCache de-duplicates the data that it transfers across the wire saving bandwidth

Install BranchCache on the Content Server
To install BrachCashe follow thes steps.
1.On the content server (FILESERVER), open Server Manager.
2.select the manage and click the add roles and features.
    Figure 1


3.on the select installation type page, click next.
4.on the select destination server, click next.
5.on the select server roles, click the File and storage services then click file and iSCSI services, and then select the BrachCashe for Network File and then click Next.
    Figure 2


6.On the select Features page, select the BranchCashe and then click next.
    Figute 3


7.on the confirm installation selections page, click the install button
    Figure 4

when installation is finish click the close button..


 Configuration Of BranchCashe.
To Configuration of BrancheCashe follow thes steps.
1.Onen the server manager 
2.at the tap of server manager select the Tools and then click the Group Plicy Management.
    Figure 5

3.when we open the Group policy Management, the left side Right click on Active Directory name, click the Create a GPO in this domain, and Link it here.....
    Figure 6


4.write GPO name like that (BrachCashe) and then click ok button.
                                Figure 7


5.click the Edit .
    Figure 8


6.when opened Group Policy Management, Select the Computer Configuration, then click the policies, then click the Administrative Tamplates, then click the Network, and then click the BrachCashe. in this page Enabel the all of setting .see 
    Figure 9

Enable and then click Aplly and click ok.


click the Configure Hosted Cash Servers.
    Figure 10


Click Enable this and then click the show...
Figure 11
add the server name with active directory nmae, for example i have tow server. and then click ok
Figure 12
                                                   

7.click the Policies, click the Administrative Tamplates, click the Network, click the Lanman Server, 
and then Enable the Hash Publicatin for BranchCashe , Like that.
    Figure 13


Allow Connection Firewall .
8.Now make firewall rule click Policies, click windows setting, click name resolution Policy, click securty settings, click windows firewall, make inbound rules and outbound rules , right click the inbound rules, click the New rule....
    Figure 14


9.On the Rule Type Page, click the Predefined then select the BranchCashe Content..then click next.
    Figure 15


10.On Prodefined Rules page, click Next..
    Figure 16


11.On the Action Page , select the connection, then the Finish Button.
    Figure 17

Sharing Offline File
8.Now Go to shere the Folder, Right click On Folder Click the Propertis then click the shere,then click the Advanced sharing, Click the Casheing, and then click the All Files and Programs that usrs open from the shared folder are autmatically avalable offline, then click ok and apply all.and ok

Finished